
IMAGES TAKEN NEAR TO
High Street, RAYLEIGH, SS6 7EL
Introduction
This page details the photographs taken nearby to High Street, SS6 7EL by members of the Geograph project.
The Geograph project started in 2005 with the aim of publishing, organising and preserving representative images for every square kilometre of Great Britain, Ireland and the Isle of Man.

There are currently over 7.5m images from over14,400 individuals and you can help contribute to the project by visiting https://www.geograph.org.uk
Image Map
Images are licensed for reuse under creativecommons.org/licenses/by-sa/2.0
Notes
- Clicking on the map will re-center to the selected point.
- The higher the marker number, the further away the image location is from the centre of the postcode.
Image Listing (87 Images Found)
Images are licensed for reuse under creativecommons.org/licenses/by-sa/2.0
Image
Details
Distance
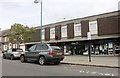
2
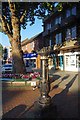
Pump in Rayleigh High Street
Now just a piece of street furniture
Image: © Glyn Baker
Taken: 26 Aug 2013
0.02 miles
3
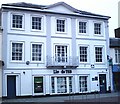
Lloyds TSB, Rayleigh
High Street branch. One of the more imposing buildings in the town. Shame about the "Y".
Image: © John Myers
Taken: 18 Feb 2007
0.03 miles
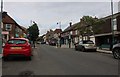
5
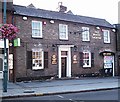
The Old White Horse, Rayleigh
High Street.
Image: © John Myers
Taken: 27 Aug 2006
0.03 miles
6
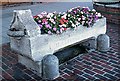
Cattle Trough, Rayleigh High Street
Provided by the Cattle Trough Association, now a container for Busy Lizzies.
Image: © John Myers
Taken: 27 Aug 2006
0.03 miles
7
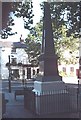
Martyr's Monument, Rayleigh
To the memory of Rayleigh dissenters who "perished in the flames at Smithfield"
Image: © John Myers
Taken: 27 Aug 2006
0.03 miles
8
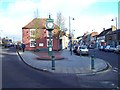
Rayleigh clock
The junction between Bellingham Lane, (left), and the High Street, (right).
Image: © Len Williams
Taken: 26 Dec 2011
0.03 miles
9
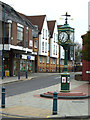
Millennium Clock Rayleigh
The Clock which cost £20,000, was erected for the Millennium.
It is situated at the junction of Bellingham Lane and Rayleigh High Street.
Bellingham Lane to the left leads to the Mill Hall and the Windmill.
Image: © terry joyce
Taken: 5 Nov 2007
0.04 miles
10
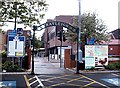
Webster's Way - car park crossing
The exit from the car park to the pedestrian crossing on Webster's Way. Another manifestation of Rayleigh Town Council's obsession with street furniture.
Image: © John Myers
Taken: 1 Jan 1900
0.05 miles