Mote Hill: western side of the ancient fort
Introduction
The photograph on this page of Mote Hill: western side of the ancient fort by Lairich Rig as part of the Geograph project.
The Geograph project started in 2005 with the aim of publishing, organising and preserving representative images for every square kilometre of Great Britain, Ireland and the Isle of Man.

There are currently over 7.5m images from over 14,400 individuals and you can help contribute to the project by visiting https://www.geograph.org.uk
Mote Hill: western side of the ancient fort
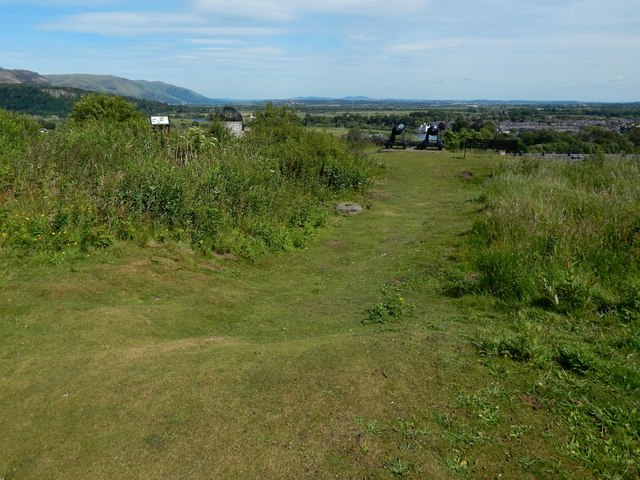
Image: © Lairich Rig Taken: 23 Jun 2018
This is the opposite view to Image; the view is from beside the bench that is shown in that picture, and the bank, perhaps the wall of the fort, is shown from the other side. The view is therefore across the interior of the fort. An information panel can be seen on the left. Just to the right of it is a structure with iron bars, enclosing Image Further to the right are two cannons: Image On the skyline, just right of centre, is a close group of hills: Saline Hill (Image), Easter Cairn (Image), and Knock Hill (Image), from 15 to 16 miles (24 to 26km) away. Just to the left of that (almost dead-centre on the skyline) is a lower but wider group of hills: these include Cult Hill (Image), Dumglow (Image), Wether Hill (Image), and Outh Hill (Image), all in the Cleish Hills, and ranging from about 14 to 18 miles (23 to 29km) away. Both groups of hills are (roughly) north of Dunfermline. Another hill, smaller, most distant, and harder to spot, is directly above the top of the cage that contains the Beheading Stone: it is the area (Image) around Bishop Hill (25 miles / 40 km away), appearing just beyond the edge of the Ochil Hills, which take up the leftmost part of the background, with the Abbey Craig in front of them.
Images are licensed for reuse under creativecommons.org/licenses/by-sa/2.0
Image Location
Latitude
56.127649
Longitude
-3.943205