Caergwrle's Packhorse Bridge/Y Bont Pynfarch
Introduction
The photograph on this page of Caergwrle's Packhorse Bridge/Y Bont Pynfarch by John S Turner as part of the Geograph project.
The Geograph project started in 2005 with the aim of publishing, organising and preserving representative images for every square kilometre of Great Britain, Ireland and the Isle of Man.

There are currently over 7.5m images from over 14,400 individuals and you can help contribute to the project by visiting https://www.geograph.org.uk
Caergwrle's Packhorse Bridge/Y Bont Pynfarch
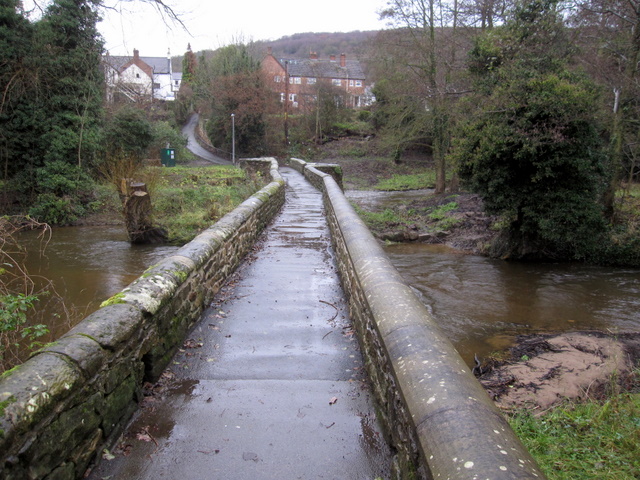
Image: © John S Turner Taken: 7 Dec 2009
Looking across the historic packhorse bridge at Caergwrle. The recent high water has subsided but there is still a strong flow of water through the multiple arches. At the first kink in the bridge there is a set of steps on the right, down to the island between the two river channels; this was to provide access to the sluice gates that once controlled the flow of water to the riverside mills.
Images are licensed for reuse under creativecommons.org/licenses/by-sa/2.0
Image Location


Leaflet Map data © OpenStreetMap
Latitude
53.111235
Longitude
-3.037774