
Aylesbury Arm - Lock No 2 showing the Lock Gates of Lock No 1
Introduction
The photograph on this page of Aylesbury Arm - Lock No 2 showing the Lock Gates of Lock No 1 by Chris Reynolds as part of the Geograph project.
The Geograph project started in 2005 with the aim of publishing, organising and preserving representative images for every square kilometre of Great Britain, Ireland and the Isle of Man.

There are currently over 7.5m images from over 14,400 individuals and you can help contribute to the project by visiting https://www.geograph.org.uk
Aylesbury Arm - Lock No 2 showing the Lock Gates of Lock No 1
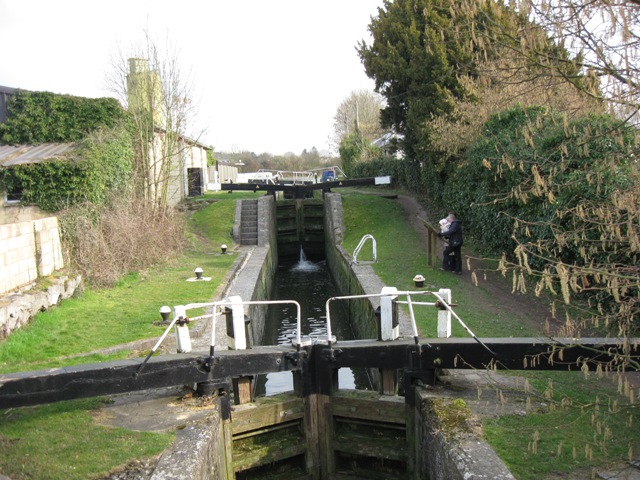
Image: © Chris Reynolds Taken: 5 Mar 2009
This shows how the pair of locks work, with Lock No 1 opening directly onto Lock No 2. Pairs of locks such as this are used when the land is dropping quickly, in this case into the Vale of Aylesbury. The photograph is taken from Bridge No 1. Image Exit to the West: Image To the East Image
Images are licensed for reuse under creativecommons.org/licenses/by-sa/2.0
Image Location

Latitude
51.820707
Longitude
-0.670683